As a seasoned bottle mold supplier, I've witnessed firsthand the transformative power of CAD/CAM technology in the field of bottle mold design. In this blog post, I'll share my insights on how to effectively use CAD/CAM for bottle mold design, from the initial concept to the final product.
Understanding CAD/CAM in Bottle Mold Design
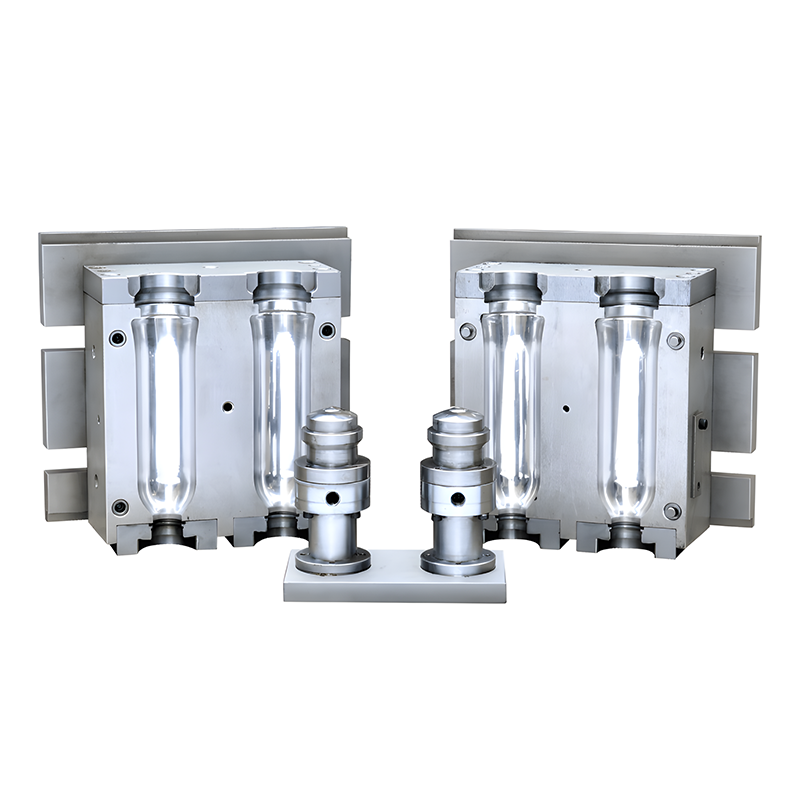
CAD (Computer-Aided Design) and CAM (Computer-Aided Manufacturing) are two essential technologies that have revolutionized the manufacturing industry. CAD allows designers to create detailed 2D and 3D models of bottle molds using specialized software. These models can be easily modified, analyzed, and optimized before the manufacturing process begins. CAM, on the other hand, uses the CAD models to generate instructions for the manufacturing equipment, such as CNC (Computer Numerical Control) machines. This ensures that the mold is produced with high precision and accuracy.
Step 1: Conceptualization and Design
The first step in using CAD/CAM for bottle mold design is to conceptualize the bottle design. This involves understanding the client's requirements, such as the bottle's shape, size, capacity, and functionality. Once the concept is finalized, the designer can start creating the CAD model using software such as SolidWorks, AutoCAD, or Pro/ENGINEER.
When creating the CAD model, it's important to consider the manufacturing process and the limitations of the materials. For example, the mold should be designed in such a way that it can be easily ejected from the bottle after the molding process. The designer should also consider the draft angle, which is the angle at which the mold is tapered to facilitate ejection.
Step 2: Analysis and Optimization
Once the CAD model is created, it's important to analyze and optimize it to ensure that it meets the client's requirements and can be manufactured efficiently. This involves using simulation software to analyze the mold's performance, such as its strength, durability, and cooling efficiency.
The simulation software can also be used to optimize the mold's design by identifying areas that need improvement. For example, if the simulation shows that the mold is not cooling evenly, the designer can modify the cooling channels to improve the cooling efficiency.
Step 3: CAM Programming
After the CAD model is analyzed and optimized, the next step is to generate the CAM program. This involves using CAM software to convert the CAD model into instructions that can be read by the manufacturing equipment.
The CAM program includes information such as the toolpath, the cutting speed, and the feed rate. The toolpath is the path that the cutting tool will follow to create the mold. The cutting speed and feed rate are the speed at which the cutting tool will move and the rate at which it will remove material.
Step 4: Manufacturing
Once the CAM program is generated, the next step is to manufacture the mold using the manufacturing equipment. This involves using CNC machines, such as milling machines, lathes, and EDM (Electrical Discharge Machining) machines, to cut and shape the mold.
During the manufacturing process, it's important to monitor the quality of the mold to ensure that it meets the client's requirements. This involves using inspection equipment, such as coordinate measuring machines (CMMs), to measure the mold's dimensions and ensure that they are within the specified tolerance.
Step 5: Testing and Validation
After the mold is manufactured, the next step is to test and validate it to ensure that it meets the client's requirements. This involves using the mold to produce sample bottles and testing them for quality and performance.
The sample bottles can be tested for various properties, such as their strength, durability, and leak resistance. If the sample bottles meet the client's requirements, the mold can be approved for production.

Benefits of Using CAD/CAM for Bottle Mold Design
Using CAD/CAM for bottle mold design offers several benefits, including:
- Improved Design Accuracy: CAD/CAM technology allows designers to create detailed 2D and 3D models of bottle molds with high accuracy. This ensures that the mold is designed to meet the client's requirements and can be manufactured efficiently.
- Reduced Design Time: CAD/CAM technology allows designers to create and modify the mold design quickly and easily. This reduces the design time and allows the mold to be produced faster.
- Improved Manufacturing Efficiency: CAM technology allows the manufacturing equipment to operate with high precision and accuracy. This reduces the manufacturing time and improves the quality of the mold.
- Cost Savings: Using CAD/CAM for bottle mold design can help reduce the cost of manufacturing by improving the design accuracy, reducing the design time, and improving the manufacturing efficiency.
Conclusion
In conclusion, CAD/CAM technology is an essential tool for bottle mold design. By using CAD/CAM, designers can create detailed 2D and 3D models of bottle molds, analyze and optimize the design, generate the CAM program, manufacture the mold, and test and validate it. This ensures that the mold is designed to meet the client's requirements and can be manufactured efficiently.
If you're interested in learning more about how to use CAD/CAM for bottle mold design, or if you're looking for a reliable bottle mold supplier, please visit our website at PET Bottle Mould, Plastic Bottle Mold, or PET Bottle Mold. We'd be happy to discuss your requirements and provide you with a quote.
References
- "CAD/CAM for Mold Making" by John R. Walker
- "Computer-Aided Manufacturing: An Introduction" by Peter A. Kosanke
- "Mold Design Handbook" by Eugene A. Avallone and Theodore Baumeister III